We’ve all heard time and time again that in order for your hair to grow, you must get regular trims as frequently as every 6 weeks. But do you really want to lose an inch (or more if you’ve been unfortunate enough to sit in front of a hairdresser who fails to listen)? Here I show you how to trim your own natural hair so you can retain as much length as possible.
You’ve spent days upon weeks nurturing and caring for your hair and rejoicing at every inch of growth. So why should you watch that precious growth be snipped away in an instant? Well fear not… there is a solution out there that will have us all rejoicing.
What is Dusting?
I still get flashbacks to one year ago, when I stood in front of my bathroom mirror with a pair of scissors and cut a good 5 inches off my hair to finally get rid of all my dead ends. Although the feeling of cutting the dead hair off felt good, the aftermath of seeing my hair the shortest I’ve ever seen it in my adult life still gives me shudders. From that day on, I only had one mission. To grow healthy, long hair.
Due to this, I for one have always shied away from trimming my hair and losing length. Instead I have skimmed scissors across the ends of my hair in order to get rid of any single strand knots or split ends. It turns out, this is a very common practice and the term widely used for it is called “Dusting”.
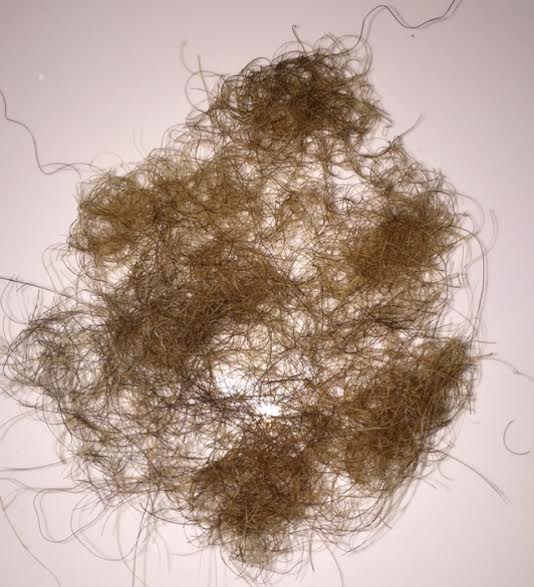
When you undertake dusting, you are simply trimming the very ends off your hair – less than a quarter inch. By the end of it, all your clippings will resemble dust, and this is where the term ‘Dusting’ originates from.
How to Dust Your Own Hair
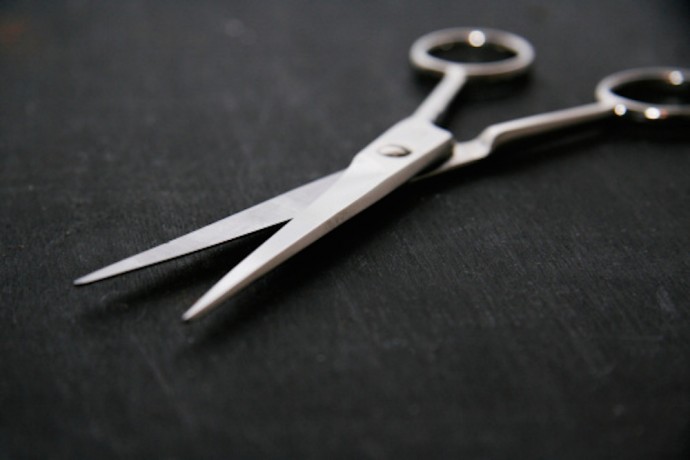
All you’ll need is a pair of sharp hairdressing scissors, hairdryer (optional), a mirror and steady hands.
You may prefer to blow out your hair out first. This way it gives you a more defined line to view whilst dusting each section. Alternatively you can twist your hair in sections which will help you determine the split ends at the end of the twists.
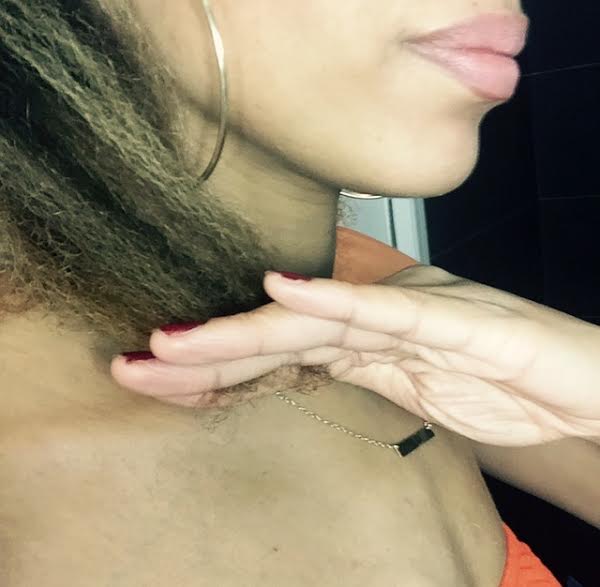
• Split your hair into manageable sections. I start with four large quarter sections and then within each quarter, I dust my hair row by row
• Simply clamp each row in between your index and middle finger and feed the hair through until you get to the very end with less than an inch remaining
• Hold your hair up to natural light in order to see more clearly any split ends
• Trim away your ends carefully with your scissors and repeat the same process working through all your sections in the same way.
What are the Benefits of Dusting?
As mentioned earlier, it’s recommended that you trim your hair to keep it healthy. Dusting your hair may be the preferential method for you due to the following:
• Helps to maintain maximum length
• It keeps your hair neat and free of loose ends
• It will help to speed up your detangling sessions
• It’s quick and easy to do yourself
• It’s suitable for all hair lengths
It’s recommended that you should self-dust every 6-8 weeks to help maintain healthy, longer hair.
Good luck if you’re trying this method for the first time. I’m sure you will love it as much as I do. Healthy hair whilst maintaining your length is a win-win situation.
Shop the Products
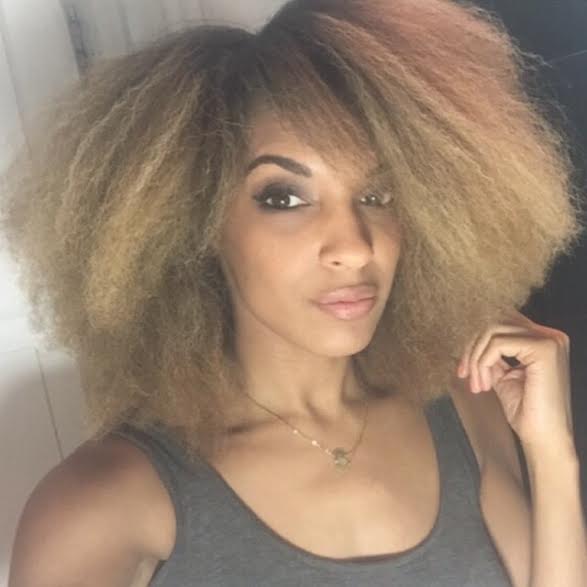
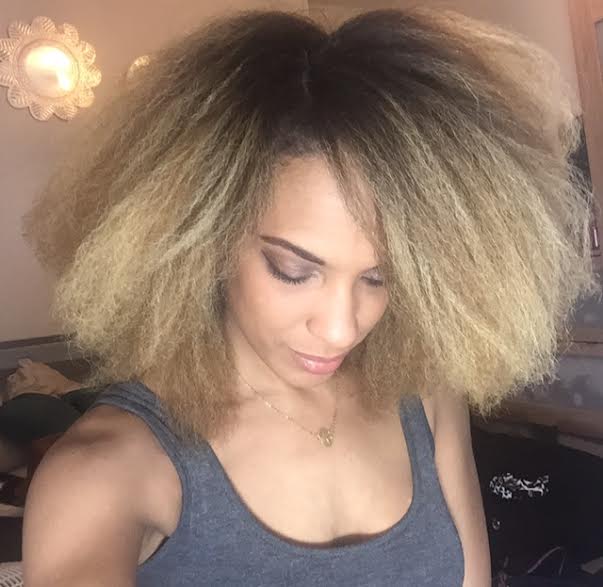
How I Dust My Hair