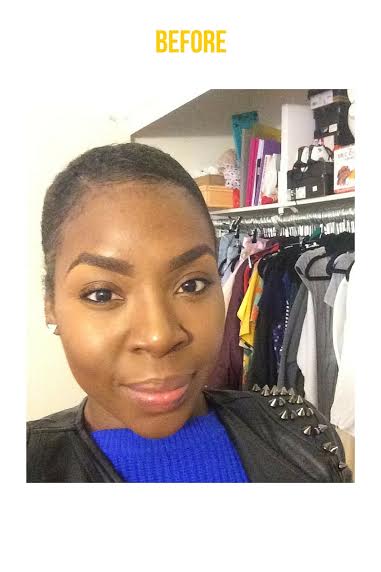
I chopped whatever was left of my hair off last November. Unfortunately, my last attempt at getting pastel purple hair left me with damaged aqua hair. So I’m back in TWAville where the land is flowing with leave-in conditioner and Eco Styler gel.
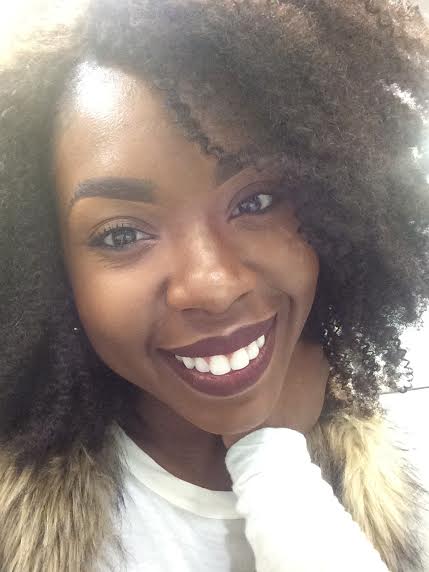
Let’s face it, TWA’S are limited. Sometimes you just want a lush ‘Fro without the hassle or wait, and in this age of kinky textured wefts, weaves, and wigs, why not take advantage? It’s easier for naturals with long hair to blend their curls into these styles, here’s what I did to make a wig that was TWA- friendly.
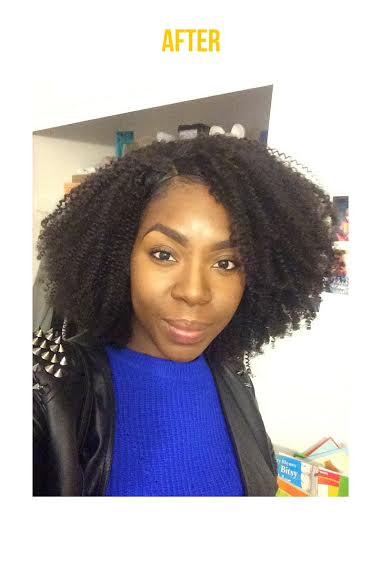
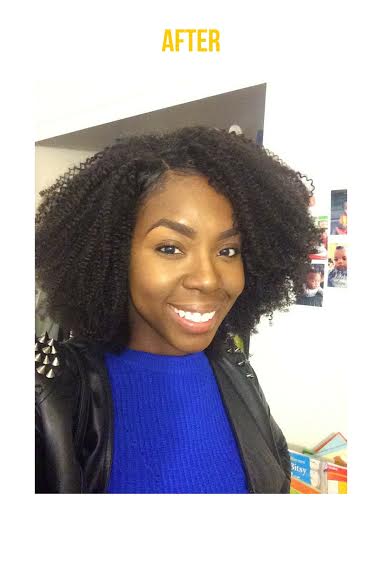
I purchased my hair from CurlGenetics and opted for the Koily genes texture. I bought 2 bundles (12” and 14”) and a closure (12”). One Saturday of watching every Disney movie known to Netflix with my son was all it took. Now I have the perfect protective style.
USEFUL THINGS TO KNOW
My construction was very simple. I only pierced the wefts at the beginning and end of each weft, sewing over and under the wefts throughout. I sewed the closure on to my dome cap first and the wefts around it from the nape of the neck up to the closure. It came out better than I expected. I was neat and the volume and hair texture covered up any imperfections visible to the naked eye. #winning! I suggest anyone interested in a switcheroo to try it out!
Here are the videos that helped me with this process:
Styles by Fash: I used the order and placement she used for her wig. I did not use the same cap she used because I didn’t want to sew my wig down. I opted for a dome cap that had a similar texture to a satin cap. That paired with a few bobby pins and I was good to go.
LivLuvLEX71: I really liked the cap she used and the hair. Like I said, I didn’t want to cut the band on my cap. She didn’t either and I loved how it turned out. This video was a little more in depth and she even posted a second video showing her shaping and styling the wig.
THINGS I WOULD DO DIFFERENTLY
1. BLEACH THE KNOTS!! I think my wig would look a lot more natural if I bleached the knots before sewing down the closure. I can still do it but at this point I don’t mind.
2. Research, research, research! I purchased my hair after looking at two YouTube videos and a few Instagram posts. I’m happy with my hair but there were some more cost effective options (ie AliExpress) that I would have considered.
TIPS ON AVOIDING BREAKAGE
1. Push the wig a little further behind your hairline. It looks more natural and the cap won’t rub up against your edges all day.
2. Use bobby pins instead of clips or combs. Change the spots where you pin frequently so you are aren’t putting too much stress on one part of your hair. If the bobby pins hurt, take them out and reposition them, beauty is not pain in this case.
3. Keep your hair moisturized. If you aren’t using a satin cap, be sure to cover your hair.
PREPARATION FOR THE COMMENTS
Going from a feisty TWA to luscious locs will ensue some commentary. Here’s a few responses to help:
1. “I didn’t recognize you!”- “My face is the same.”
2. “How is it attached” – “Faith.”
3. “Can I tou…”- “NO.” Always no.