It’s been two weeks since my color/trim/straightening and one week since my Heat Free Hair install. Read ahead for my first impression review with lots of pictures!
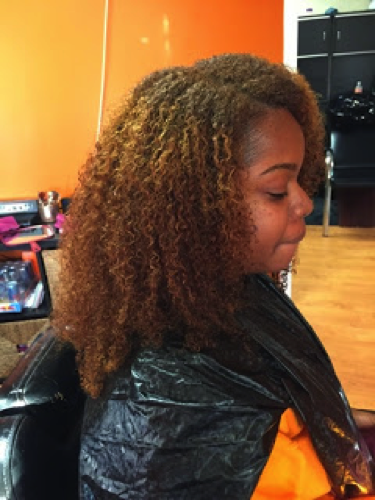
As many of you know I colored my hair last year. First I did an overall light brown, then I went back in and got blonde highlights. Since that time, I’ve not retouched the color or gotten a trim. I finally got my color retouched, straightened, and a much needed trim, shown below:
I’ve gotten a lot of questions lately about this color so I wanted to mention a few things about it. You may have noticed that the retouched portion appears quite a bit darker than the rest of my hair. This is due to sun exposure which lightened the original color over time.
Secondly, I got this color and the highlights professionally done. I do NOT apply color or chemicals on my real hair. I know plenty of people who do (and successfully), but it’s a risk that I personally do not feel is worth taking. I’ve said all this to say, this is a custom color with highlights, so it’s not something you can just buy. If this color is something you’d like to achieve, I’d recommend showing it to your preferred stylist.
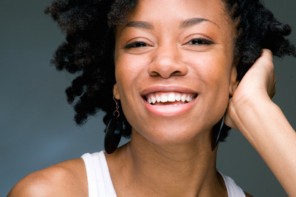
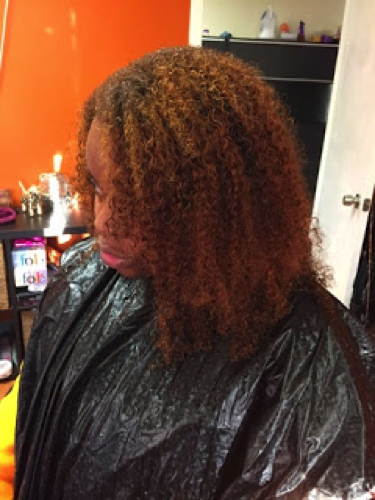
I waited two weeks between my color and my install to allow my hair some time to sort of recover from the processing. This picture below is right after a wash, my best deep condition EVER, and blow dry.
For this install, I opted for a side part (on my right side), and of course very minimal leave out. This picture below is while I was getting braided up but you can see the amount of hair left out. The portion at the top with the pink/white clip is my part to cover the track, and the bit by my ear to cover my edges on that side. There is no leave out anywhere else along my perimeter.
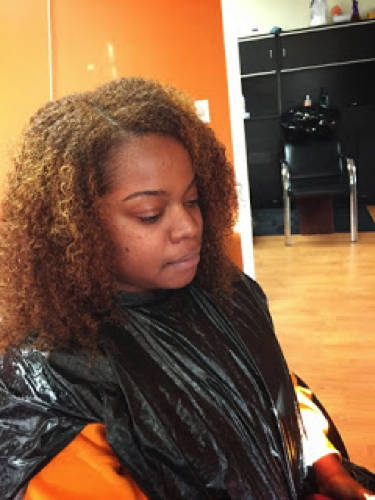
If you’re familiar with sew-ins you know you typically arrive with washed/blowdried hair, which in this case didn’t match the flow of the hair I installed. Instead of a heat style we did a simple wash and go. After installing the hair she wet it all down, applied some conditioner and rinsed. Then she did a light towel dry, applied product to my leave out to ‘hold’ the curl, a very light trim to frame the face, and a bit of edge control on one side and that is it!
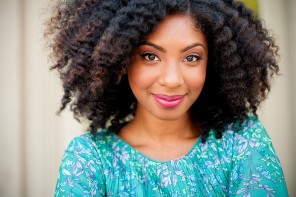
I have two bundles of 16″ Heat Free Hair from the “For Kurls” Collection that I had coloured to match my natural hair as shown above.
Here’s my review of the hair thus far:
I LOVE it. I can’t tell you how many people (especially people I see on a regular basis) who think this is my real hair. It looks so natural. I receive a lot of compliments from men and women.
The color doesn’t seem to have changed the curl pattern at all and it is still as soft as when I first received it.
Unfortunately there aren’t a ton of reviews on Heat Free Hair online but from the ones I did see I saw a few mention tangling in the nape area (which is common for curly hair in general), and this collection vs “For Kurls” requiring more time and attention.
The bundle lengths are measured straight or extended. So if you order 16″, it isn’t 16″ in its curly, unstretched state.
In my opinion, Heat Free Hair is pricey, but the quality is outstanding. Would I recommend it?? A definite 10 on a scale of 1-10. If you are someone who will use hair for protective styling (whether it is the clip-ins, wigs, or wefted hair) a few times throughout the year–Heat Free Hair is definitely worth considering. If you wouldn’t wear it more than once or twice it may not be worth the investment.
Again, if you’re interested in finding out more check out the Heat Free Hair website, check out their Instagram account @HeatFreeHair to see the different collections/products and styling on people, or their page on Facebook.
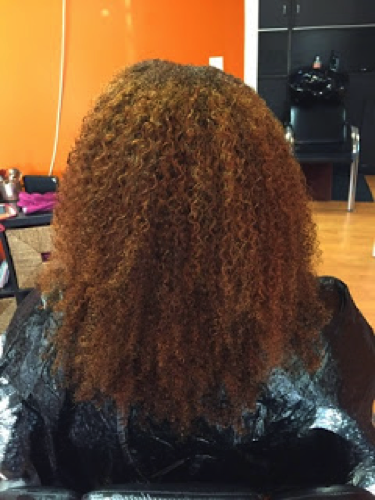
Here are a few more pictures from my first install weekend:
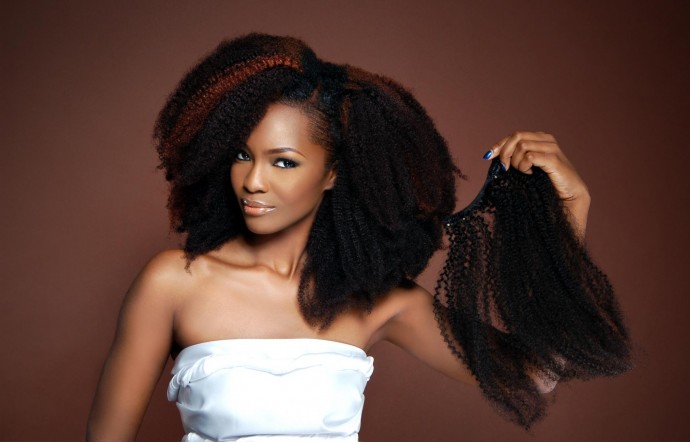
Main Photo Credit: HeatFreeHair.com